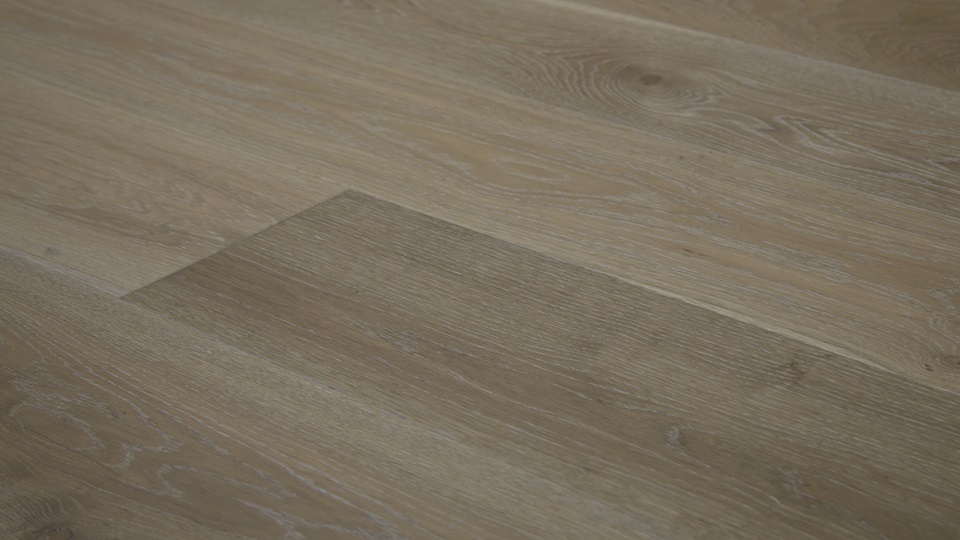
Brazilian Cherry (JATOBA) – Natural is popular because of its warm color and charming graining. Its warmth and character match most decors.
Installation of Engineered Hardwood
What tools will I need to install my engineered hardwood?
- Pneumatic Flooring Nailer / Stapler
- Drill
- Drill Bits
- Hammer
- Nail Set and Nails
- Nails
- Circular Saw, Miter Saw or Table Saw
- Pry Bar
- Spacers, Tapping Block, Pull Bar
- Tape Measure
- Utility Knife
- Wood Glue
- Safety Glasses
- Work Gloves
- Dust Mask
- Knee Pads
What do I need to do before having engineered hardwood installed in my home?
- Allow at least two days to complete this project.
- You can’t walk on new flooring for 24 hours, so plan your work accordingly. You may have to leave a walking strip bare and complete the flooring the following day.
- Check all boards for warping and defects.
- Purchase a Trowel with teeth for applying glue if you’re using the glue-down method.
- Wear safety glasses and latex gloves.
- Mix Planks from different containers to avoid patches of color. Stains and finishes can vary from batch to batch and mixing pieces from different boxes creates a more unified look.
Can you install engineered hardwood over existing flooring?
Yes, but it’s better to follow manufacturer’s recommendations for installation over existing flooring.
Is Engineered Hardwood easy for Do-It-Yourself installation? What are the tips and tricks?
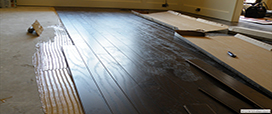
- Glue-down over a concrete subfloor
- Step 1: Lay spacers along the walls to create the expansion gap specified in the manufacturer’s instructions.
- Step 2: Pour a small amount of glue on the concrete – about the width of two or three boards – and use the trowel to scrape the glue and drips clean away from the bucket.
- Step 3: Hold the trowel at a 45-degree angle and spread the glue – make sure the teeth of the trowel touch the concrete. Continue to spread glue in small sections; you only want to work on two or three rows at a time.
- Step 4: Using the straightest boards, lay the first row along the guideline you created when prepping the subfloor with the tongue side of the board facing toward the room.
- Step 5: Fit the second row’s groove on the first row’s tongue and tap the board into place using a rubber mallet and block.
- Staple-Down Installation over a Plywood Subfloor
- Step 1: For the first row, pre-drill and nail with finishing nails about 1 inch from the wall at 3- to 4-inch intervals. Use a nail punch and fill the holes with wood filler.
- Step 2: For the second and third rows, drive staples every 3 to 4 inches at a 45-degree angle, just above the tongue using a pneumatic staple gun. Staples must not interfere with the tongue-and-groove fit of additional boards.
- Step 3: Your last one or two rows will be face-nailed, as your pneumatic stapler will be difficult to operate in a small space. Pre-drill the holes and use a nail punch to countersink the nails. Fill the holes with matching wood filler to camouflage the marks.
- Step 4: Once your new floor is complete, install transition pieces and remove the spacers. Then nail the baseboards and shoe mouldings to the wall.


