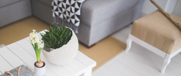


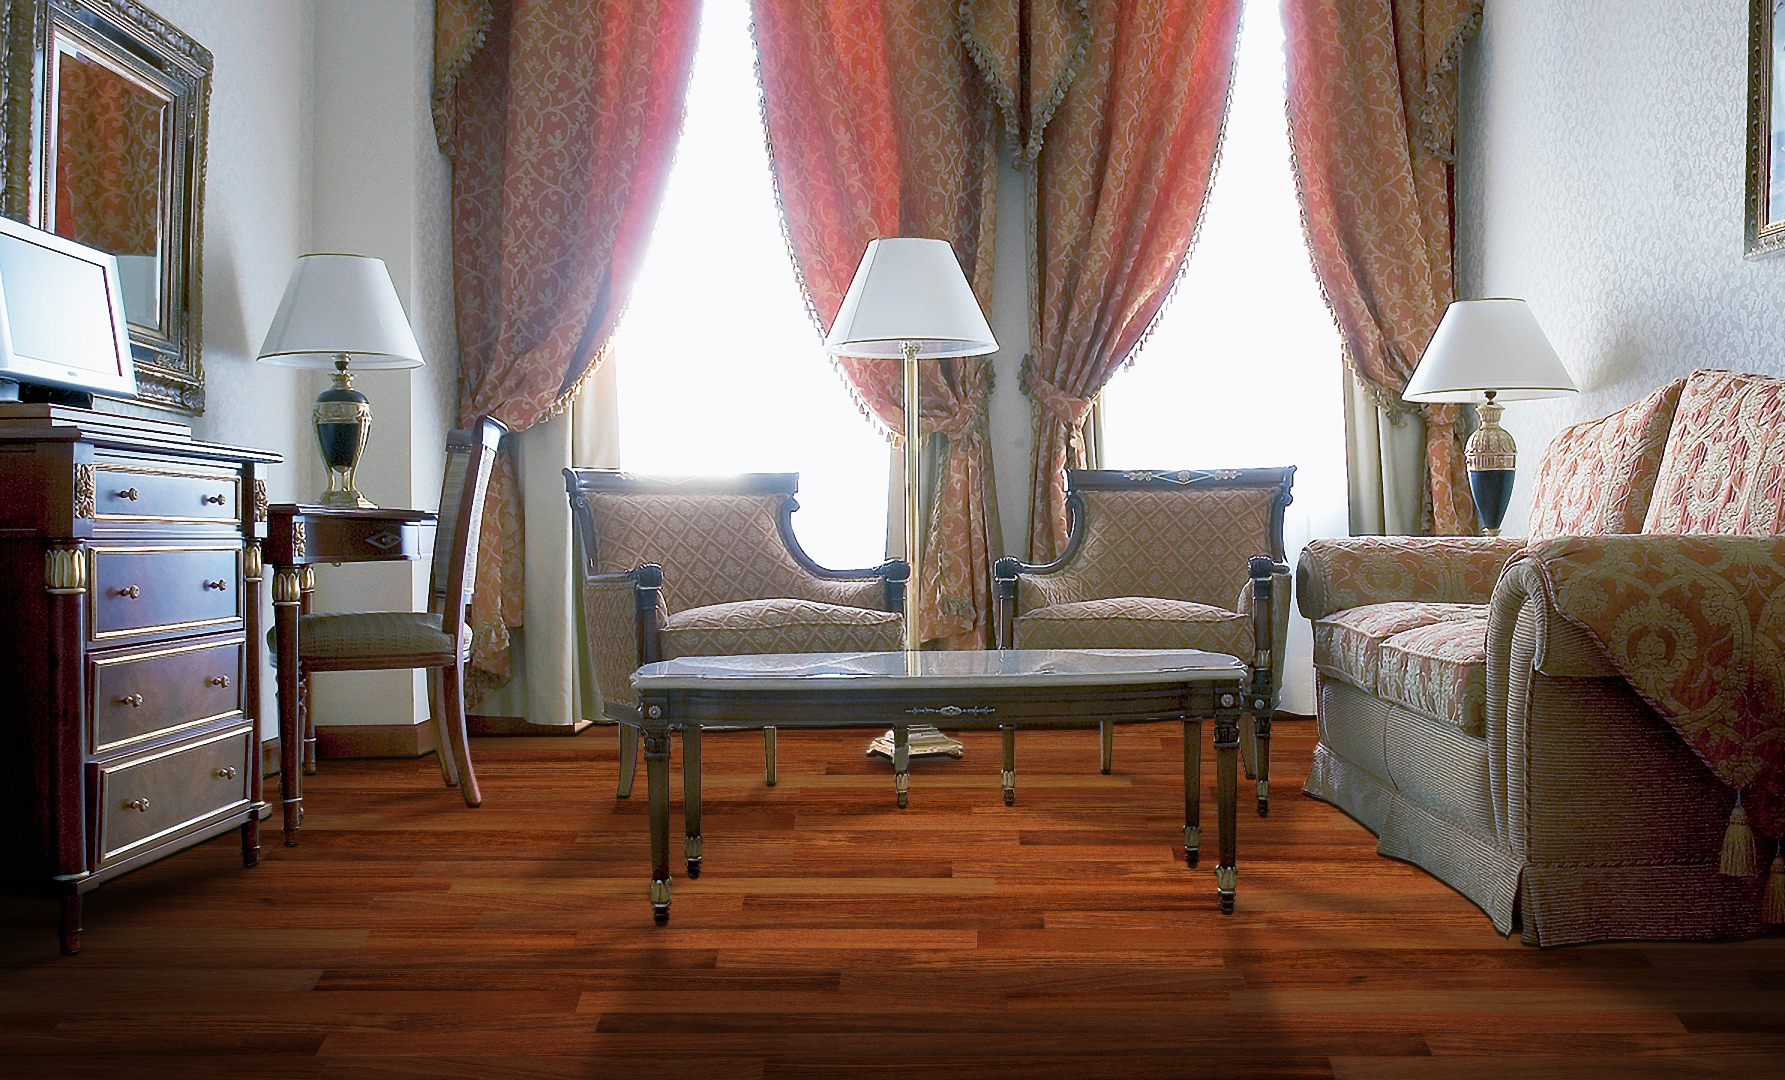
Maintaining Solid Hardwood Flooring
Installation Instructions – Solid Wood Flooring
This is only a guideline for reference. Follow the National Wood Flooring Association’s installation guidelines and recommendations when installing FERMA branded products.
- Installation Instructions – Solid Wood Flooring Download
-
General Information
- It is recommended that installation by experienced professionals who subscribe to installation standards as set forth by NOFMA, NWFA.
- Use of approved products during installation as described in this installation instruction is required to validate all warranty.
- Installing solid wood flooring over radiant-heated sub-floor is not recommended and will void the warranty.
- It is not recommend gluing down of solid wood flooring on concrete. If glued directly to concrete substrates FERMA, the warranty is void.
- The installation of solid wood flooring must be conducted after kitchen cabinet or counter is installed. No flooring should be installed underneath any kitchen cabinet or counter. Otherwise, it will be treated as improper installation.
- Sawing, sanding or machining of wood flooring can cause respiratory, eye and skin irritation. The International Agency for Research on Cancer has classified wood dust as a nasal carcinogenic in humans. If using power tools, a dust collector is recommended, as is a dust mask NIOSH approved. Avoid contact with the eyes or skin when in proximity to wood dust. Use of a protective device for the eyes is also recommended.
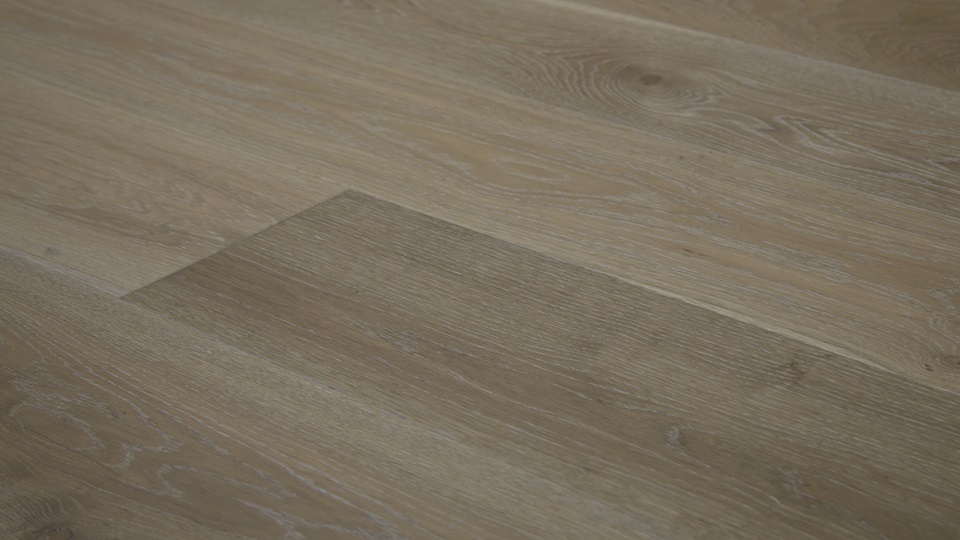
- FERMA Flooring cannot warrant natural wood characteristics such as checking, mineral streaks, small knots, grain variations. Due to inherent characteristics of natural wood, fine cracks may develop in the face of the wood. These are all natural characteristics and not defects. These fine cracks will not take away from the beauty and performance of your floor. However, they can be minimized by maintaining the recommended relative humidity in the range of 35 to 55 percent and the temperature range of 65 to 75 degrees Fahrenheit, year-round inside the building.
-
Responsibilities of Purchaser/Installer
- The purchaser/installer should inspect all of the floorings before installation. Being a natural product, hardwood rarely will be perfect. Industry standards of manufacture allow for grading deficiencies up to 5%. This 5% may be composed of natural or manufacturing deficiencies. The purchaser/installer should carefully examine the flooring for color quality and finish. Wood flooring is a product of nature characterized by distinctive variations in grain, pattern, and color. These natural variations are neither flaws or defects, but rather the natural beauty and uniqueness of wood, and should be expected. If there is any product discrepancy or not acceptable, DO NOT INSTALL it. The seller should be contacted immediately. Installation of flooring denotes installer and owner accept the materials, even if the owner is absent at the time of installation. The manufacturer shall not be responsible for costs associated with repairing or replacing flooring installed with visible defects.
- It is also required that all orders for pre-finished flooring include an additional coverage of floorboards – minimum five percent of the actual footage – to allow for proper cutting and installation.
- It is noted that stain-putty filler is an accepted part of the installation procedure throughout the industry.
- It is the purchaser/installer’s responsibility to determine the suitability of the job site environment and sub-surfaces involved. Installation must follow recommendations of the construction industry and the material’s manufacturer as well as local codes. Reference is made to NWFA requirement for minimum job site conditions and substrate requirements.
- FERMA declines any responsibility for job failure or non-acceptability from or associated with sub-floor/substrates or job site environmental deficiencies. FERMA will not provide technical or product support, or inspection services to identify or cure moisture issues at a particular job site.
-
Pre-Installation
- Unlike unfinished flooring, extra caution is needed during installation of pre-finished wood flooring to prevent scratch and damage.
- Solid wood flooring must be installed on grade or above grade. Below grade installation is not recommended for solid wood flooring.
- The building, where the installation takes place should be completed to an environmental control level, whereas doors and windows are in place and paint and masonry work is dry.
- Basements and crawl spaces must be dry and well ventilated. Crawl spaces must be a minimum of 24” from the ground to bottom of joists. A ground cover of 6-8mil poly should cover the soil in the crawlspace 100%. Seams lapped at least 12” and sealed. Edges should be lapped up the perimeter walls 3”-6” to divert moisture to the outside. This vapor barrier is REQUIRED.
- Perimeter venting is necessary to provide for cross ventilation. Minimum combined venting should be equal to at least 1.5% square feet of the crawl space or exceed where applicable. Local codes prevail. No dead walls allowed an impeding cross flow of air movement.
- The installation site should have at or near environmental living conditions 68F – 72F temperature, 35%-55% relative humidity, prior to, during installation and or until the site is occupied. These conditions will allow for acclimation of wood to the proper environmental conditions. Moisture testing is still necessary.
- Before installation, check wood flooring moisture content with a moisture meter to establish a baseline for acclimation. Check the moisture content of multiple boards. A good representative sample is typically 40 boards for every 1,000 square feet of flooring. Calculate what the optimal wood moisture content is (baseline) by dividing the high season and low season. Example: If your region has a recommended moisture content from a low of 7% to a high of 10%, such as in the states of New York and New Jersey, the baseline MC of the wood flooring prior to installation would be 8.5%. The flooring must be in the acceptable range prior to installation. See appendix “D” , copied from the National wood flooring association installation guidelines, for moisture content guidelines for the regional area in the United States, in which you are installing the wood flooring. Do not install wood flooring until the wood is properly acclimated. See Item “K” below
- Exterior grading must drop at least 3” in 10 feet or according to local codes. All gutters and downspouts must be in place and divert run-off away from the structure.
- Flooring must be stored in a clear dry environment. Do not deliver materials to a site that is not environmentally controlled. This means building must be closed in, windows and doors on, all wet work complete, heat air or equivalent environmental controls functioning, temporarily or permanently. Moisture control is necessary for at least 10 days prior to delivery.
- The wood sub-floor must NOT exceed 12% moisture content. The difference in moisture content between the sub-floor and wood flooring must NOT exceed 4%, preferably 2% for exotic and larger plank. A reliable moisture meter should be used to measure and determine accurate moisture contents. Wood floors installed on excessively moist ground without proper moisture barrier treatments are not covered under the warranty. It is important to ensure that the moisture content differential between your wooden subfloor and the FERMA flooring does not exceed two percent. If the difference is higher than 2 percent, a moisture retarder is required. In addition, prior to installation, the installer should make certain that sub- floors are properly inspected for moisture conditions according to the NWFA guidelines (visit www.nwfa.org for more information).
- Acclimation is to allow the wood flooring to acclimate to sub-floor with no more than 4% difference in moisture contents (2% is preferred). Acclimation time for solid wood flooring is determined by the moisture content of the sub-floor and the wood at the time of delivery, but at least 5-7 days acclimation is needed prior to installation. Note: Not properly acclimating wood flooring may cause excessive expansion, shrinkage, dimensional distortion or structural damage. all of which is not a manufacturing defect, and not covered by this warranty. The worst‐case scenario is one in which wood flooring is stored at the job site in an uncontrolled environment, then immediately installed. This is especially true when the materials are stored in an area that is subject to excessive moisture and humidity conditions.
- Provide air flow under and around cartons. Remove any plastic that may be in or on the boxes. Open up the ends of the boxes, to help prepare the flooring for acclimation. To prevent board warping, twisting or bowing do not cut the plastic support packaged bindings or remove the product from the packaging until ready to install.
- Exotic woods such as Brazilian Cherry (JATOBA) or other species may need longer acclimation period.
-
Recommended Sub-Floor Surface
- Following is requirement of the recommended sub-floor surface: Joist spacing 24” o.c. 7/8” plywood. Joist spacing 19.2”o.c 3/4” plywood preferred Joist spacing 16” o.c. 3/4” plywood preferred Joist spacing 16” o.c. 5/8” plywood minimum
- Exterior grade rated panels preferred. The exposure I for OSB rated panels is acceptable. For plywood, CDX APA rated is minimum acceptable.
- Use of minimum standards will result in the minimum performance of flooring.
- Do not install solid wood flooring over particle board, wafer board pressed wood or fiber board. These products do not have adequate nail holding capacity. Installation over inadequate sub-floor will result in poor performance and will void any warranties.
- Sub-floors must meet industry standards for flatness. Standards are 1/8” in 6′ or 3/16” in 10′.
-
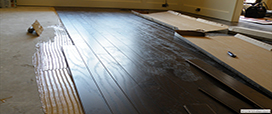
Over Concrete Installation
- It is not recommend gluing down of solid wood flooring on concrete. If glued directly to concrete substrates FERMA, warranty is void.
- Plywood sub-floor systems that are attached to concrete must be secured and installed per industry standards.
- Plywood sub-floor floating systems are acceptable: minimum 2 layers 5/8” installed at right angles to each other.
- Screed system is acceptable. (For further details, consult NWFA or NOFMA).
- A moisture barrier is always recommended over concrete when installing sub floor, for use with solid wood flooring installations.
- Moisture testing is necessary. A Calcium chloride test is recommended. A result of 3 lbs per 1000sf. in 24 hours is the acceptable, maximum allowable level.
- PH testing should also be done. PH 5-9 is satisfactory, 7 is neutral as reading above 9 requires corrective action.
- Purchaser and installer are solely and jointly responsible for pre-installation sub-floor moisture level check and must ensure that all conditions are/or specifications listed in this guide have been thoroughly met prior to installation of hardwood floor.
-
Installation
- If installing with a manual fastening machine, be sure proper adapter plate is used as well as proper length fasteners.
- If using pneumatic fastening machines, be sure to use the proper adapters as well as fasteners. Air pressure settings may have to be adjusted to properly set the fastener used. Failure to observe and regulate pressure could result in severe damage to the flooring tongues.
- For board widths less than 5 inches: Before installing wood flooring, place an approved vapor retarder. Some examples of acceptable vapor retarders over wood subfloors include 1. An asphalt laminated paper meeting UU-B- 790a, Grade B, Type I, Style 1a. 2. Asphalt-saturated kraft paper or #15 or #30 felt that meets ASTM Standard D-4869 or UU-B- 790, Grade D. For board widths 5 inches or more, see section “G” below
- 15lb roofing felt tar paper is recommended to be used as a buffer between the sub-floor and hardwood flooring.
- Remove any molding, base, thresholds and reinstall after the floor has been installed.
- Installation of wood should be perpendicular to joist system. This will assist in maintaining dimensional stability.
- End-joints of adjacent rows should be staggered at least 6” minimum for a pleasing appearance.
- As a general rule, a ¾” expansion space must be left around the perimeter and at all vertical obstructions.
- Nailing schedule should fasten boards 6-8” apart with minimum 2 nails per board. Ends to be nailed 1”-3” from each end.
- Last 2 rows may need to be cut to size and face nailed.
- Putty filling of nail holes is an acceptable part of the installation of hardwood flooring.
- Replacing molding, base, and threshold.
- If covering the floor is needed after installation, it is recommended to cover the floor completely to avoid color changing, since some species are light-sensitive. All covering material should be taped to each other’s overlapping layers and should not be taped directly to finished flooring. Do not cover flooring for a prolonged period, such as weeks, of months. This may damage the flooring by not allowing the flooring to absorb or dissipate moisture content. The flooring must be allowed to breath. Do not use thick sheets of material as covering.
-
Installation of 6" Wide or Wider Planks
- If solid wood flooring plank is 5″ wide or over, it should be glued to the sub-floor, as well as nailed, in place. All other items in “F” above should be followed. The sub-floors needs to be clean, so no foreign debris or dust will interfere with the adhesive and with inserting the tongue and groove. Whether putting the adhesive on the back of the flooring or on the sub-floors, care must be taken so no adhesive, dust or debris interferes with the board installation.
-
Molding
Wood floors require expansion space at the wall and all vertical obstructions. Moldings are used to cover the expansion area, to hide cut ends, to adjust height differences or transitions between floors and to aesthetically finish the area. Finish installations with following choices of moldings that will enhance the appearance of any installation. Refer to the illustrations and descriptions below for the proper use of each molding. Moldings & Trimmings
-
Further Information
FERMA FLOORING is a member of National Wood Flooring Association (NWFA). FERMA recommends installation by experienced professionals who subscribe to installation standards as set forth by NOFMA, NWFA. For further information about the installation of solid wood flooring, please refer to related instruction by NWFA as follows: Downloads
- Solid Strip and Plank Installation NWFA Installation Guide
For more technical information about the installation, please also refer to other associated instructions by NWFA as follow: